A premium surface is not defined by a luxury label or a high price. You need to compare measurable performance, match the finish to each room, confirm that large slabs can reach and fit the site, and check the sample under the lighting and maintenance conditions it will face.
Key takeaways
- Read body composition, calibre, shade variation and rectification on the technical sheet.
- Match surface finish and ratings to moisture, traffic and cleaning demands.
- Measure access routes before ordering a 1200 x 2400 mm slab.
- Record product, layout, installation and maintenance details in the purchase brief.
Judge a premium surface by specifications, not showroom language
A premium surface earns its description through measurable performance, not words such as luxury or designer. Check the technical sheet for body composition, calibre, shade variation and rectification, then match those details to the room.
| Specification | What to verify | Why it matters |
|---|---|---|
| Body composition | Porcelain in class BIa under ISO 13006/EN 14411, with water absorption no higher than 0.5% | Low absorption limits moisture and staining, but does not prove wet-slip safety |
| Calibre | The stated manufacturing size and calibre code match across every carton | Mixed calibres create uneven joints and alignment problems |
| Shade variation | The V1–V4 shade-variation rating and the approved sample match your visual expectation | V4 can produce strong colour and pattern differences across one installation |
| Rectification | Machine-cut edges and the manufacturer’s minimum grout-joint width | Rectified tiles still need a joint; zero-width installation ignores manufacturing and movement tolerances |
| Slip rating | A wet-slip classification or test result suited to the intended floor | PEI measures glazed-surface abrasion, not shower-floor safety |
| Abrasion rating | The PEI rating for a glazed tile, matched to foot traffic | A polished tile with high abrasion resistance can still be unsafe when wet |
| Finish and care | Polished, matt, textured or honed finish; cleaner and sealer compatibility | Calcareous marble and limestone can etch with acidic products, while sealing reduces absorption but does not make stone waterproof |
Ask for the technical sheet, batch details and installation guidance before paying. A surface is suitable only when its absorption, slip performance, wear rating and maintenance demands fit the actual location.
Match the finish and rating to the room
A glossy finish suits a living-room feature wall or kitchen backsplash, where reflection and easy wiping matter more than wet-foot traction. Use matt and satin surfaces for bathroom walls when you want fewer visible water marks and less glare.
| Location | Suitable surface | Check before approving |
|---|---|---|
| Living-room feature wall | Glossy porcelain, polished stone or decorative slab | Confirm shade variation, lighting effect and edge treatment |
| Kitchen backsplash | Glossy or satin porcelain | Check grease-cleaning resistance and grout-joint position behind the hob |
| Bathroom wall | Matt, satin or lightly textured porcelain | Confirm water absorption and cleaning access around niches and fittings |
| Bathroom floor | Matt or textured porcelain | Check the manufacturer’s wet-slip result; PEI measures glazed-surface abrasion, not slip |
| Shower floor | Small-format matt or textured tile with strong barefoot wet traction | Request a barefoot wet-area test, confirm adequate slope and drainage, and do not rely only on an R-rating |
| Balcony | Textured, low-absorption porcelain | Verify exterior suitability, drainage and resistance to rainwater and staining |
| Staircase | Matt or textured tile with profiled stair nosing | Check tread depth, edge visibility and wet-slip performance |
| Commercial reception | Durable matt, satin or polished porcelain | Match PEI to traffic and inspect polished surfaces for lippage and scratch visibility |
DCOF 0.42 is a useful benchmark for level wet interior surfaces, but it does not automatically qualify a tile for a shower floor. Porcelain in ISO 13006/EN 14411 class BIa absorbs no more than 0.5% water; that limits moisture penetration, not slip. Use flexible sealant at wall-to-floor corners instead of rigid grout.
Check whether a 1200 x 2400 mm slab will work on site
Verify the route, finished dimensions, substrate and installation plan before ordering a 1200 x 2400 mm slab. A slab that fits the design can still fail at the gate, in the lift or during lifting into position.
1. Measure the complete delivery route, including gate openings, corridors, stair turns, lift door and lift cabin dimensions. Check the lift’s load limit and reserve a route that keeps the slab upright without striking walls, sprinklers or door frames.
2. Confirm the finished wall or floor dimensions, including niches, outlets, windows and doors. Mark the proposed cuts and joints on a drawing so narrow strips, awkward corners and visible seams do not appear after installation.
3. Inspect the substrate with a straightedge. Large-format installation exposes humps and hollows, so correct the wall or screed before laying rather than forcing the slab to follow it. In wet areas, require at least 95% mortar coverage, careful bedding and back-buttering; voids can cause cracking or debonding.
4. Confirm storage space on a level, protected surface and specify the handling equipment: slab frames, suction lifters, edge supports and enough trained installers. Do not carry a slab by its corners or leave it leaning where it can tip.
5. Ask who will cut openings and verify that the site has suitable cutting capacity for the slab’s thickness and finish. Confirm movement joints and flexible sealant at changes of plane instead of rigid grout at wall-to-floor corners.
A written site measurement and installation method protects you from ordering a surface that looks right but cannot be delivered or safely installed.
Compare the look, maintenance and installation trade-offs before choosing
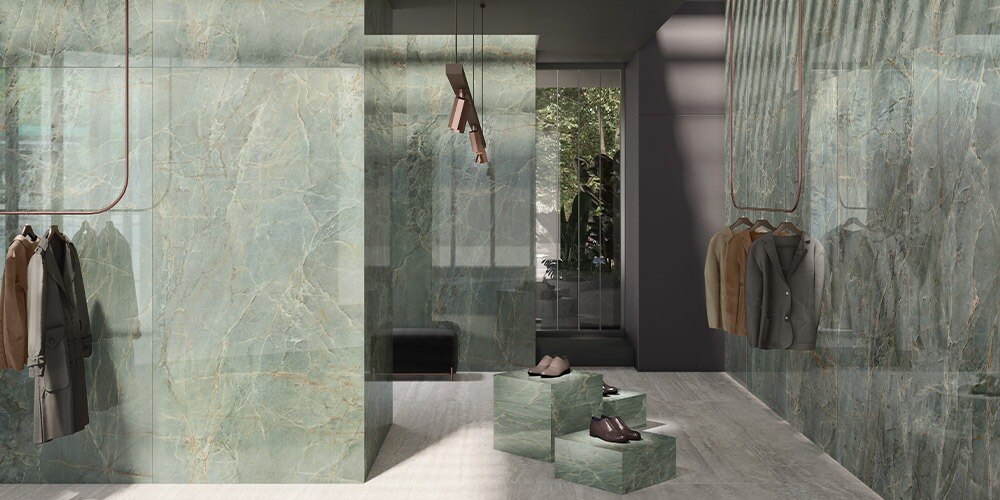
Choose Amazonite Blue only after comparing its reflective pattern with the finish and upkeep your room demands. A glossy surface can amplify colour and veining, but it also reveals water marks, fingerprints, scratches and lippage more clearly than a honed or matte finish.
| Option | Look | Maintenance and installation trade-off |
|---|---|---|
| Amazonite Blue | High-contrast blue veining creates a strong feature surface | Wipe marks show readily; plan careful joint alignment and inspect each piece for shade continuity |
| Matte or honed porcelain | Softer reflection with a calmer, more uniform appearance | Hides marks better, but textured finishes need more effort around grout lines and require correct wet-slip data |
| Sintered stone | Large visual fields with consistent engineered pattern options | Cutting and edge finishing need specialist equipment; confirm slab handling, support and access before ordering |
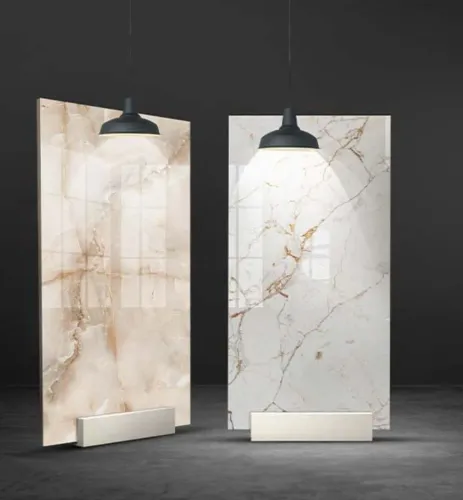
Use sample inspection rather than a single showroom panel. View a full-size piece in daylight and artificial light, then tilt it to check glare, print clarity, pinholes, edge damage and visible shade shifts.
Place a wet hand or a few drops of water on a spare sample to see how marks appear; do not treat this as a formal slip test.
Ask Lifestyle Galleria to show pieces from the same batch and confirm the approved grout joint, edge treatment and cutting method. For a bathroom floor, compare the wet-slip rating before choosing gloss; a polished finish that looks exceptional when dry can become the wrong decision under water. Surface sealers do not remove that risk.
Related product
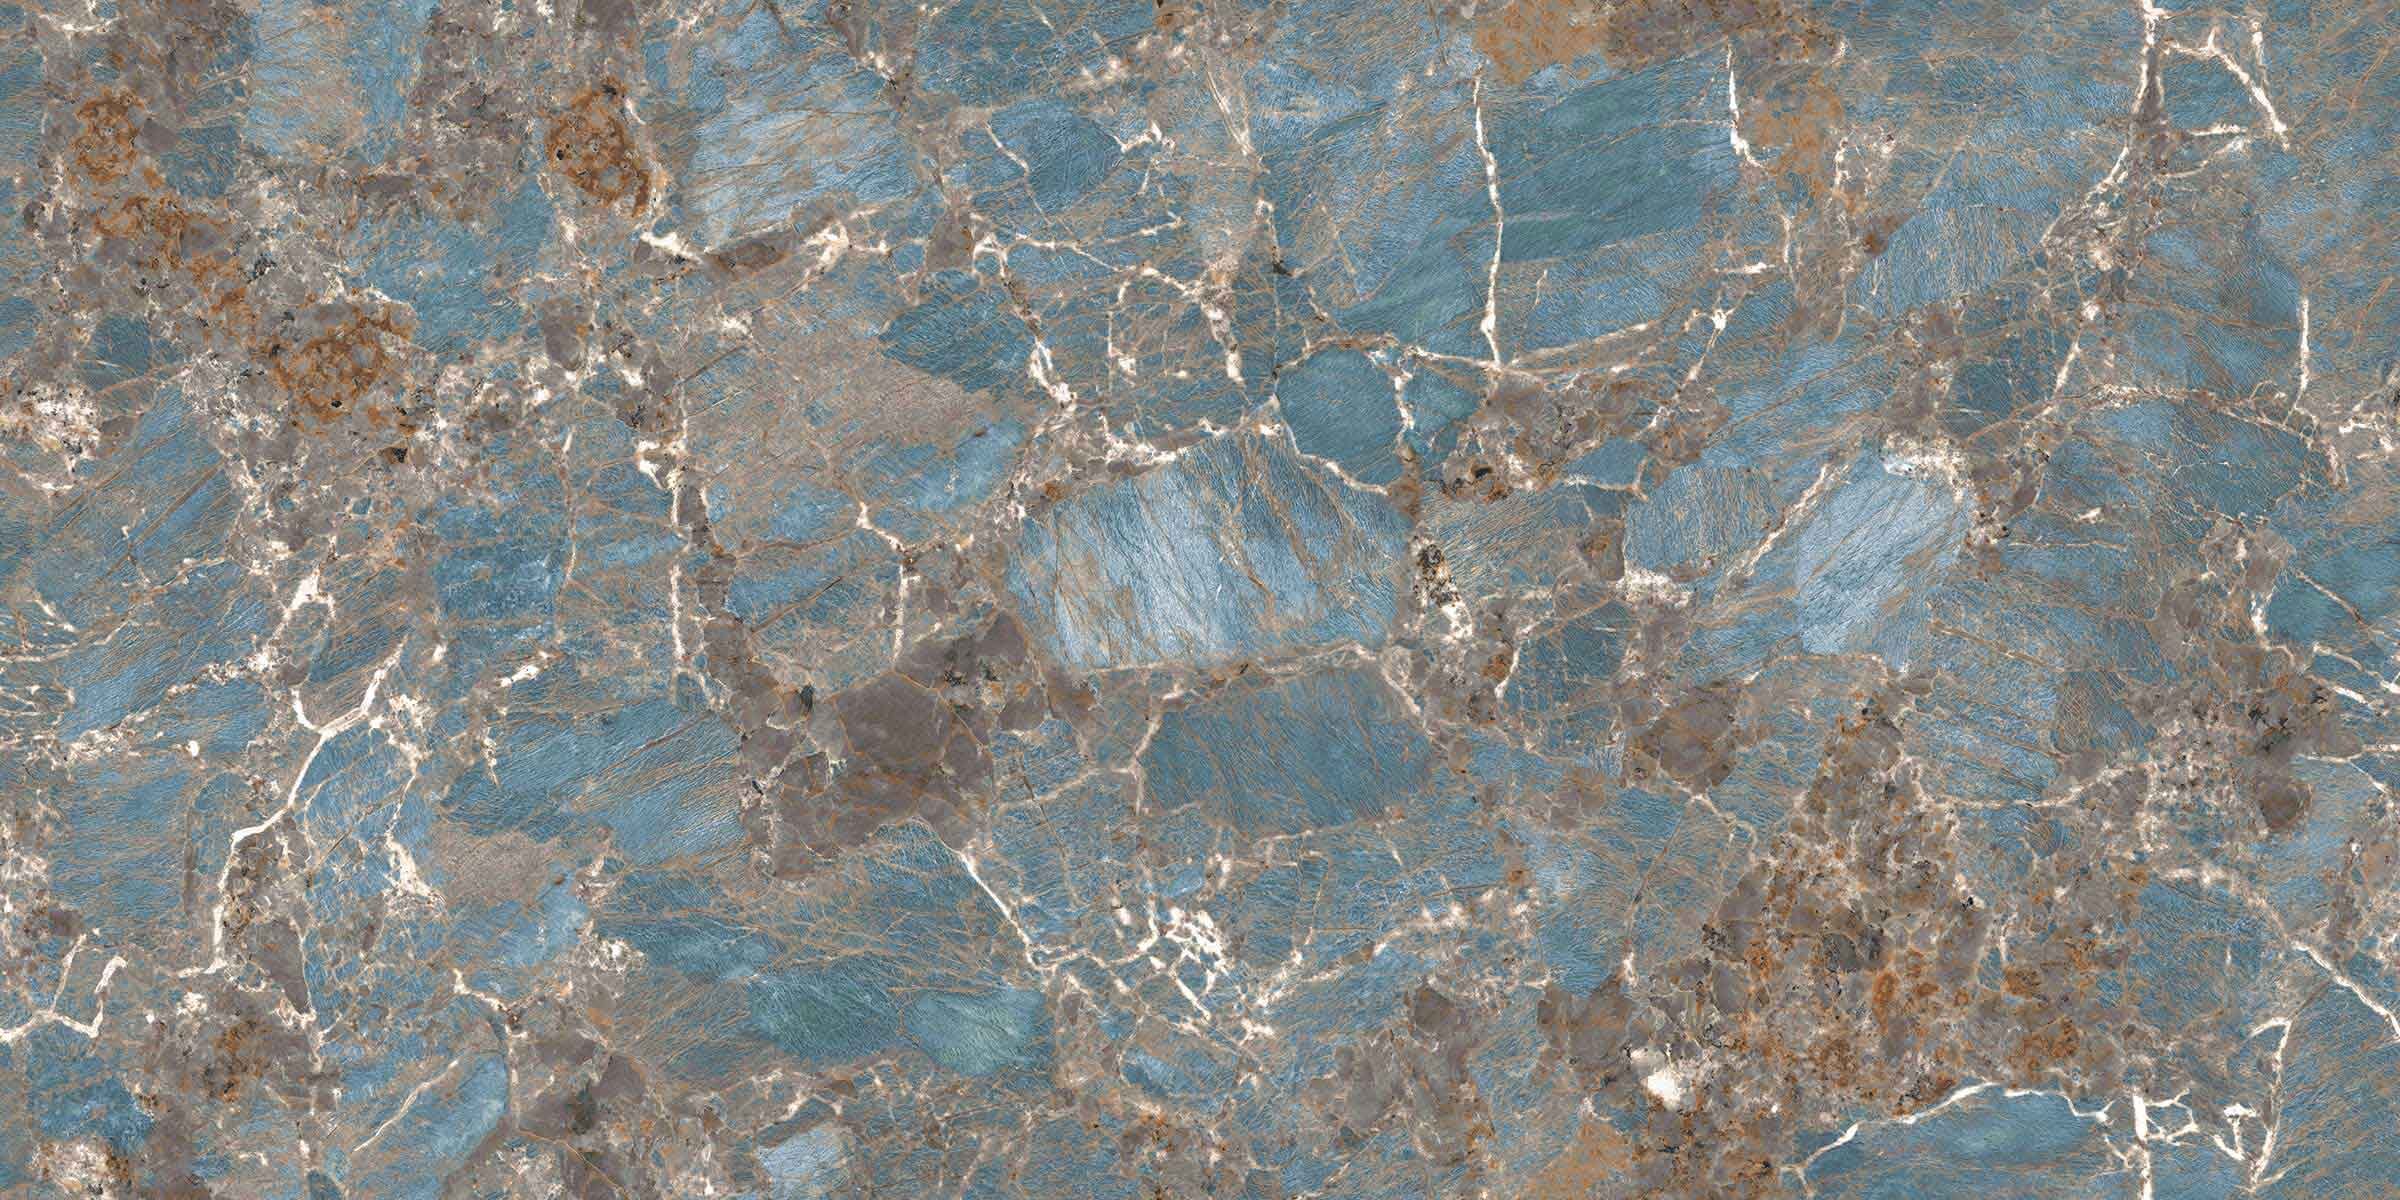 | Tiles Amazonite Blue 1200x2400mm Glossy ₹5760 Glossy 8x4 Tile | 10mm Thickness |
Put the technical choices into a purchase and installation brief
A usable brief records every performance requirement and assigns each one to the supplier, installer or plumber before you pay the deposit. It prevents a beautiful surface from failing because the substrate, joints or concealed services were never agreed.
- Name the room and application, then record the required water absorption, wet-slip rating, abrasion rating and finish. Do not use a PEI rating as proof that a polished tile is safe for a shower floor.
- Confirm the substrate condition, flatness tolerance, adhesive type and waterproofing system. In wet areas, record membrane coverage, sealed penetrations and the point at which installation can begin.
- Specify grout selection: cement-based grout for easier repair, or epoxy for stronger stain and chemical resistance. If the stone or cementitious grout is porous, name the sealer, wet-area suitability and reapplication responsibility; sealing does not make it waterproof.
- Mark the joint layout, minimum grout width and all movement joints on the drawing. Use flexible sealant at wall-to-floor corners, internal corners and room perimeters instead of rigid grout.
- Record sanitaryware compatibility, including pan geometry, trapway clearance, flush mechanism, spare-part access and the exact actuator plate or access panel for a concealed cistern.
- Attach the approved shade, batch, calibre, orientation, cutting plan and edge detail, then state who checks pieces before fixing.
Require a final inspection for lippage, chipped cuts, hollow-sounding areas, failed sealant and blocked service access. A signed brief turns a showroom choice into an installation that remains repairable.
Frequently asked questions
Which specifications should you check before choosing a premium surface?
Check the technical sheet for body composition, calibre, shade variation and rectification instead of relying on terms such as luxury or designer.
How do you match a surface finish and rating to a room?
Match the finish and performance rating to the room’s moisture, traffic, cleaning and slip-resistance requirements.
Will a 1200 x 2400 mm slab fit on site?
Measure doorways, corridors, lifts, staircases, turning spaces and the installation area before ordering the slab.
What should a purchase and installation brief include?
Record the product specification, finish, rating, slab dimensions, layout, quantities, edge details, installation method and maintenance instructions.