
The right tile depends on where it will be installed, how water and traffic move through the space, and whether the surface can be installed without awkward cuts or unsafe transitions. By the end, you will be able to compare finishes, calculate quantities, test technical suitability, and prepare a room-specific tile order.
Key takeaways
- Choose bathroom floors for wet grip, easy cleaning and low water absorption.
- Plan tile size around room dimensions, drain positions and visible cut locations.
- Confirm a 1200 × 2400 mm, 10 mm tile fits your site and handling plan.
- Inspect every carton, calculate wastage and verify shade and batch before installation.
Start with the Room’s Water, Traffic and Maintenance Conditions
Choose bathroom floor tiles for wet grip and easy cleaning, not appearance alone. Soap film, standing water and Chennai’s mineral deposits can reduce practical slip performance, while deep texture can trap grime and become harder to scrub.
| Room | Tile characteristics that fit | What can go wrong |
|---|---|---|
| Bathroom | Wet-slip data, low water absorption and a cleanable matt or structured surface | A glossy floor becomes hazardous when wet; heavy texture can retain soap. |
| Kitchen | Stain-resistant, abrasion-resistant surface with manageable texture and grout joints | Grease and food residue collect in deep texture and porous grout. |
| Living room | Durable glazed or porcelain surface, with finish chosen for foot traffic and cleaning routine | Highly polished tiles reveal dust, footprints and scratches. |
| Bedroom | Comfortable-looking matt or satin surface with sufficient wear resistance for household traffic | A delicate surface marks around beds, wardrobes and doorways. |
| Balcony or terrace | Outdoor-rated, weather-suitable tile with wet grip and drainage-compatible layout | Indoor tile can deteriorate or become slippery after rain. |
| Commercial space | Wear-resistant tile matched to traffic volume, cleanability and wet-slip conditions | A residential-grade surface can show wear quickly at entrances and corridors. |
Ask for the wet-slip result under ANSI A326.3 for a bathroom floor; 0.42 DCOF is the commonly cited minimum for level interior surfaces walked on when wet, not a universal safety guarantee. Maintain grip by removing soap and deposits with a cleaner compatible with the tile and grout. PEI describes glazed-surface wear, not slip resistance.
Use the Room Dimensions to Plan Tile Size and Cut Locations
A room’s finished dimensions should determine tile size for room dimensions, not the display sample you prefer. Measure wall lengths, floor width, door openings and fixed points, then draw the layout with grout joints included.
A large-format tile layout can look calm in a showroom yet leave a narrow strip at a corner or beside a door.
Mark these points on a scaled drawing before ordering:
- Centre lines of doors, toilets, vanity units and wall corners
- Door swing and the clearance needed beneath and beside the door
- Shower niches, pipe outlets and the finished edge of each wall
- Floor drain positions, slopes and the lowest visible cut
Plan tile cuts around doors and niches so they do not create thin slivers or split the niche unevenly. Continue grout lines across adjoining walls where possible; a small adjustment at the starting edge can produce a cleaner finish.
A bathroom drain layout controls tile size on a shower floor. The floor needs a positive fall of about 2% toward the drain, and large tiles can create lippage or birdbaths around it. Use smaller tiles or a suitably shaped layout when the slope cannot be formed evenly.
Check the wall or floor flatness before choosing large format. For tiles with edges of 15 inches or longer, variation near 1/8 inch in 10 feet and 1/16 inch in 24 inches requires substrate correction, not extra adhesive.
Count cutting waste from the drawing; allow about 10% for a simple layout and 15% or more for complex patterns.
Compare Finish, Slip Resistance and Intended Use
Choose finish for its cleaning and grip requirements, not its showroom shine. Glossy vs matt tiles is mainly an appearance and maintenance decision; neither label proves wet safety.
| Option | What it means | Suitable use |
|---|---|---|
| Glossy | Reflective, smooth surface that shows water marks and scratches | Walls, backsplashes and dry low-traffic floors |
| Matt | Low-reflection surface with less visible glare | Living areas, bedrooms and general floors |
| Polished | Mechanically smoothed, highly reflective surface | Feature walls and dry interiors; avoid shower floors |
| Structured | Raised or textured surface that improves traction | Entrances, balconies and selected wet areas |
| Anti-skid | A marketing term unless supported by test data | Use anti-skid tiles for wet floors only after checking the test result |
| Lappato | Partly polished surface with a mixed smooth-textured look | Dry floors or carefully specified areas where cleaning remains practical |
For a bathroom floor, request the wet-slip result rather than trusting “anti-skid.” ANSI A326.3 uses dynamic coefficient of friction; 0.42 is the commonly cited minimum for level interior surfaces walked on when wet. Soap, slope, footwear and maintenance still change the risk.
In Chennai, soap film and mineral deposits can defeat textured surfaces that are difficult to scrub. Check several pieces under the room’s lighting, and compare cartons for shade, caliber and batch before installation. PEI measures glazed-surface wear, not slip resistance, water absorption or outdoor suitability.
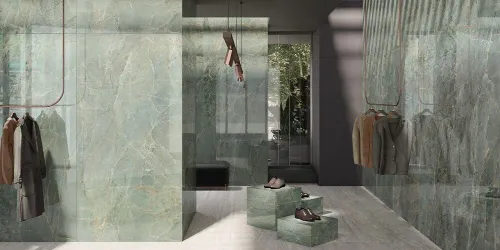
Check Whether a 1200 × 2400 mm, 10 mm Tile Is Installable
A 1200 × 2400 mm tile is installable only when the substrate, access route, adhesive system and layout can support its size. A 10 mm tile installation cannot hide an uneven wall or floor; forcing the slab over high spots creates hollow areas, lippage and cracks.
1. Measure substrate flatness with a 2 m straightedge. For tiles with edges over 380 mm, keep variation within about 3 mm in 3 m and 1.6 mm in 600 mm; flatten the substrate instead of building up adhesive.
2. Confirm the wall is plumb, rigid and strong enough for the tile and adhesive load. Check the manufacturer’s maximum tile size, approved adhesive, bed thickness and whether two-person or mechanical lifting is required.
3. Dry-lay the slab against door frames, corners, niches, sanitaryware and drains. Reject the layout if it leaves fragile slivers or blocks door clearance.
4. Plan slab-format tile handling from delivery to fixing: clear the route, protect edges, use suction frames and follow the installer’s lifting method.
5. For floors, verify the surface can form a continuous fall to the drain without rocking or birdbaths. In showers, provide about 2% fall and a continuous waterproof membrane beneath the tile.
6. Confirm grout-joint width from actual caliber variation, substrate flatness and adhesive instructions. Rectified edges still need a joint.
Calculate the Order and Inspect Every Carton Before Installation
Order the measured tile area plus a tile wastage allowance: about 10% for a straight layout and 15% or more for diagonal, staggered, patterned or heavily cut installations. A tile quantity calculator gives a starting figure, but a scaled cutting plan is more reliable than room area alone.
1. Measure each floor and wall separately, subtracting large openings. Calculate the number of full tiles, cuts and spare tiles required, then round up to complete cartons.
2. Before accepting delivery, compare every carton’s product name, dimensions, thickness, finish, shade and caliber. Record the tile batch number because replacement cartons from another production lot can differ visibly.
3. Open cartons from different pallets and inspect several tiles under the room’s intended lighting. Check for chipped edges, cracks, warping, printing defects and colour variation; do not discover these after adhesive has cured.
4. Confirm that the cartons contain the approved tile, not a visually similar finish or size. Lifestyle Galleria can help you match cartons against the selected sample before delivery is signed for.
5. Keep unopened spare tiles from the same batch number for future repairs. Store them flat, dry and labelled with the shade and caliber. A later batch may not blend into the installed surface.
Related product
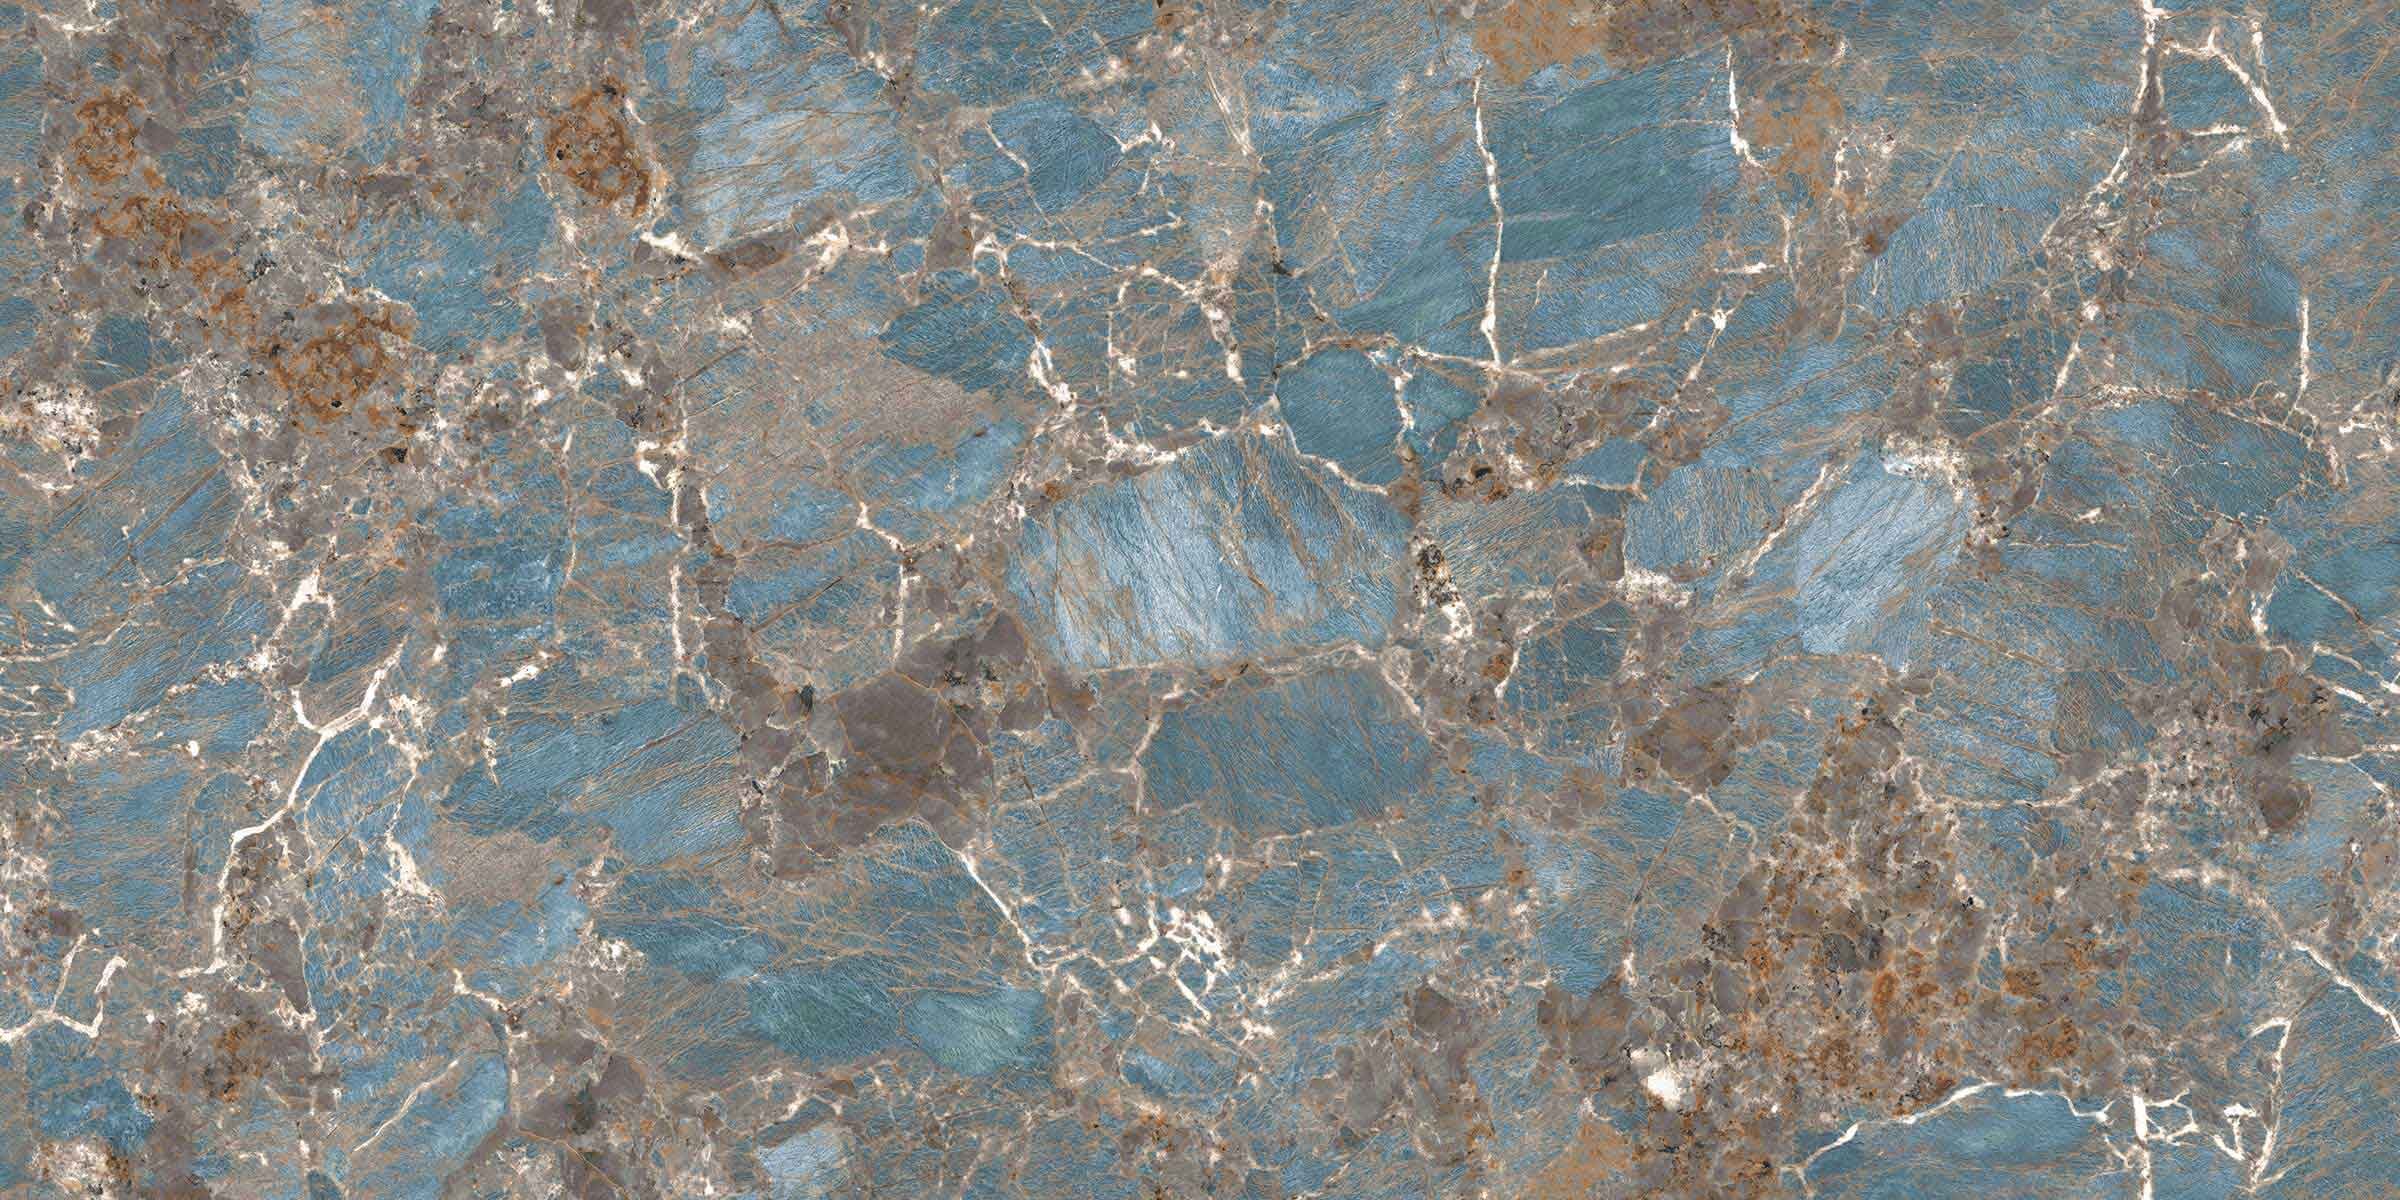 | Tiles Amazonite Blue 1200x2400mm Glossy ₹5760 Glossy 8x4 Tile | 10mm Thickness |
Protect the Installation with Waterproofing, Grout and Maintenance
Protect wet areas at substrate level, not at the grout line. In a shower, install a continuous bathroom waterproofing membrane or an approved waterproof backer-board system, then verify the shower floor slope toward the drain before tiling. A flat floor leaves standing water, soap film and mineral deposits.
Match the installation detail to the area:
- Bathrooms: Use epoxy grout where staining and frequent cleaning are concerns. It resists many household chemicals better than cementitious grout, but costs more and requires careful installation.
- Balconies and terraces: Provide falls to drains, seal exposed junctions and keep drainage outlets clear. Porcelain’s water absorption of no more than 0.5% under ISO 13006 helps in wet locations, but it does not waterproof the assembly.
- Commercial areas: Specify grout and sealants for the cleaning chemicals, traffic and maintenance schedule. Replace cracked sealant before water reaches the substrate.
Install movement joints at perimeters, changes in plane and around penetrations. Use a flexible sealant or specified profile; filling these junctions with rigid grout commonly cracks corners.
Ask for the tile’s wet-slip result under ANSI A326.3 rather than trusting “anti-skid.” A DCOF of 0.42 is commonly cited for level interior surfaces walked on when wet, but regular cleaning remains essential. Remove soap and deposits with products compatible with the tile and grout.
Frequently asked questions
How should I choose tiles for a bathroom or other room?
Match the tile to water exposure, foot traffic and cleaning demands. Bathroom floors need wet grip and a surface that does not trap soap or mineral deposits.
How do room dimensions affect tile size and installation?
Measure the room, walls, doors, drains and fixtures before choosing a format. Plan cuts so narrow strips and awkward joints are kept out of prominent areas.
Can a 1200 × 2400 mm, 10 mm tile be installed anywhere?
Check access routes, wall or floor flatness, substrate strength, handling space, adhesive coverage and installer capacity before ordering this large-format tile.
What should I check before accepting a tile order?
Calculate coverage plus cutting wastage, then inspect every carton for the product code, shade, calibre, batch details, broken pieces and visible defects.